Showing your users journeys as a Tube map
Tube maps are a good way to layout a user journey. Draw.io is not the easiest tool for this, but if you want to try, here’s how.
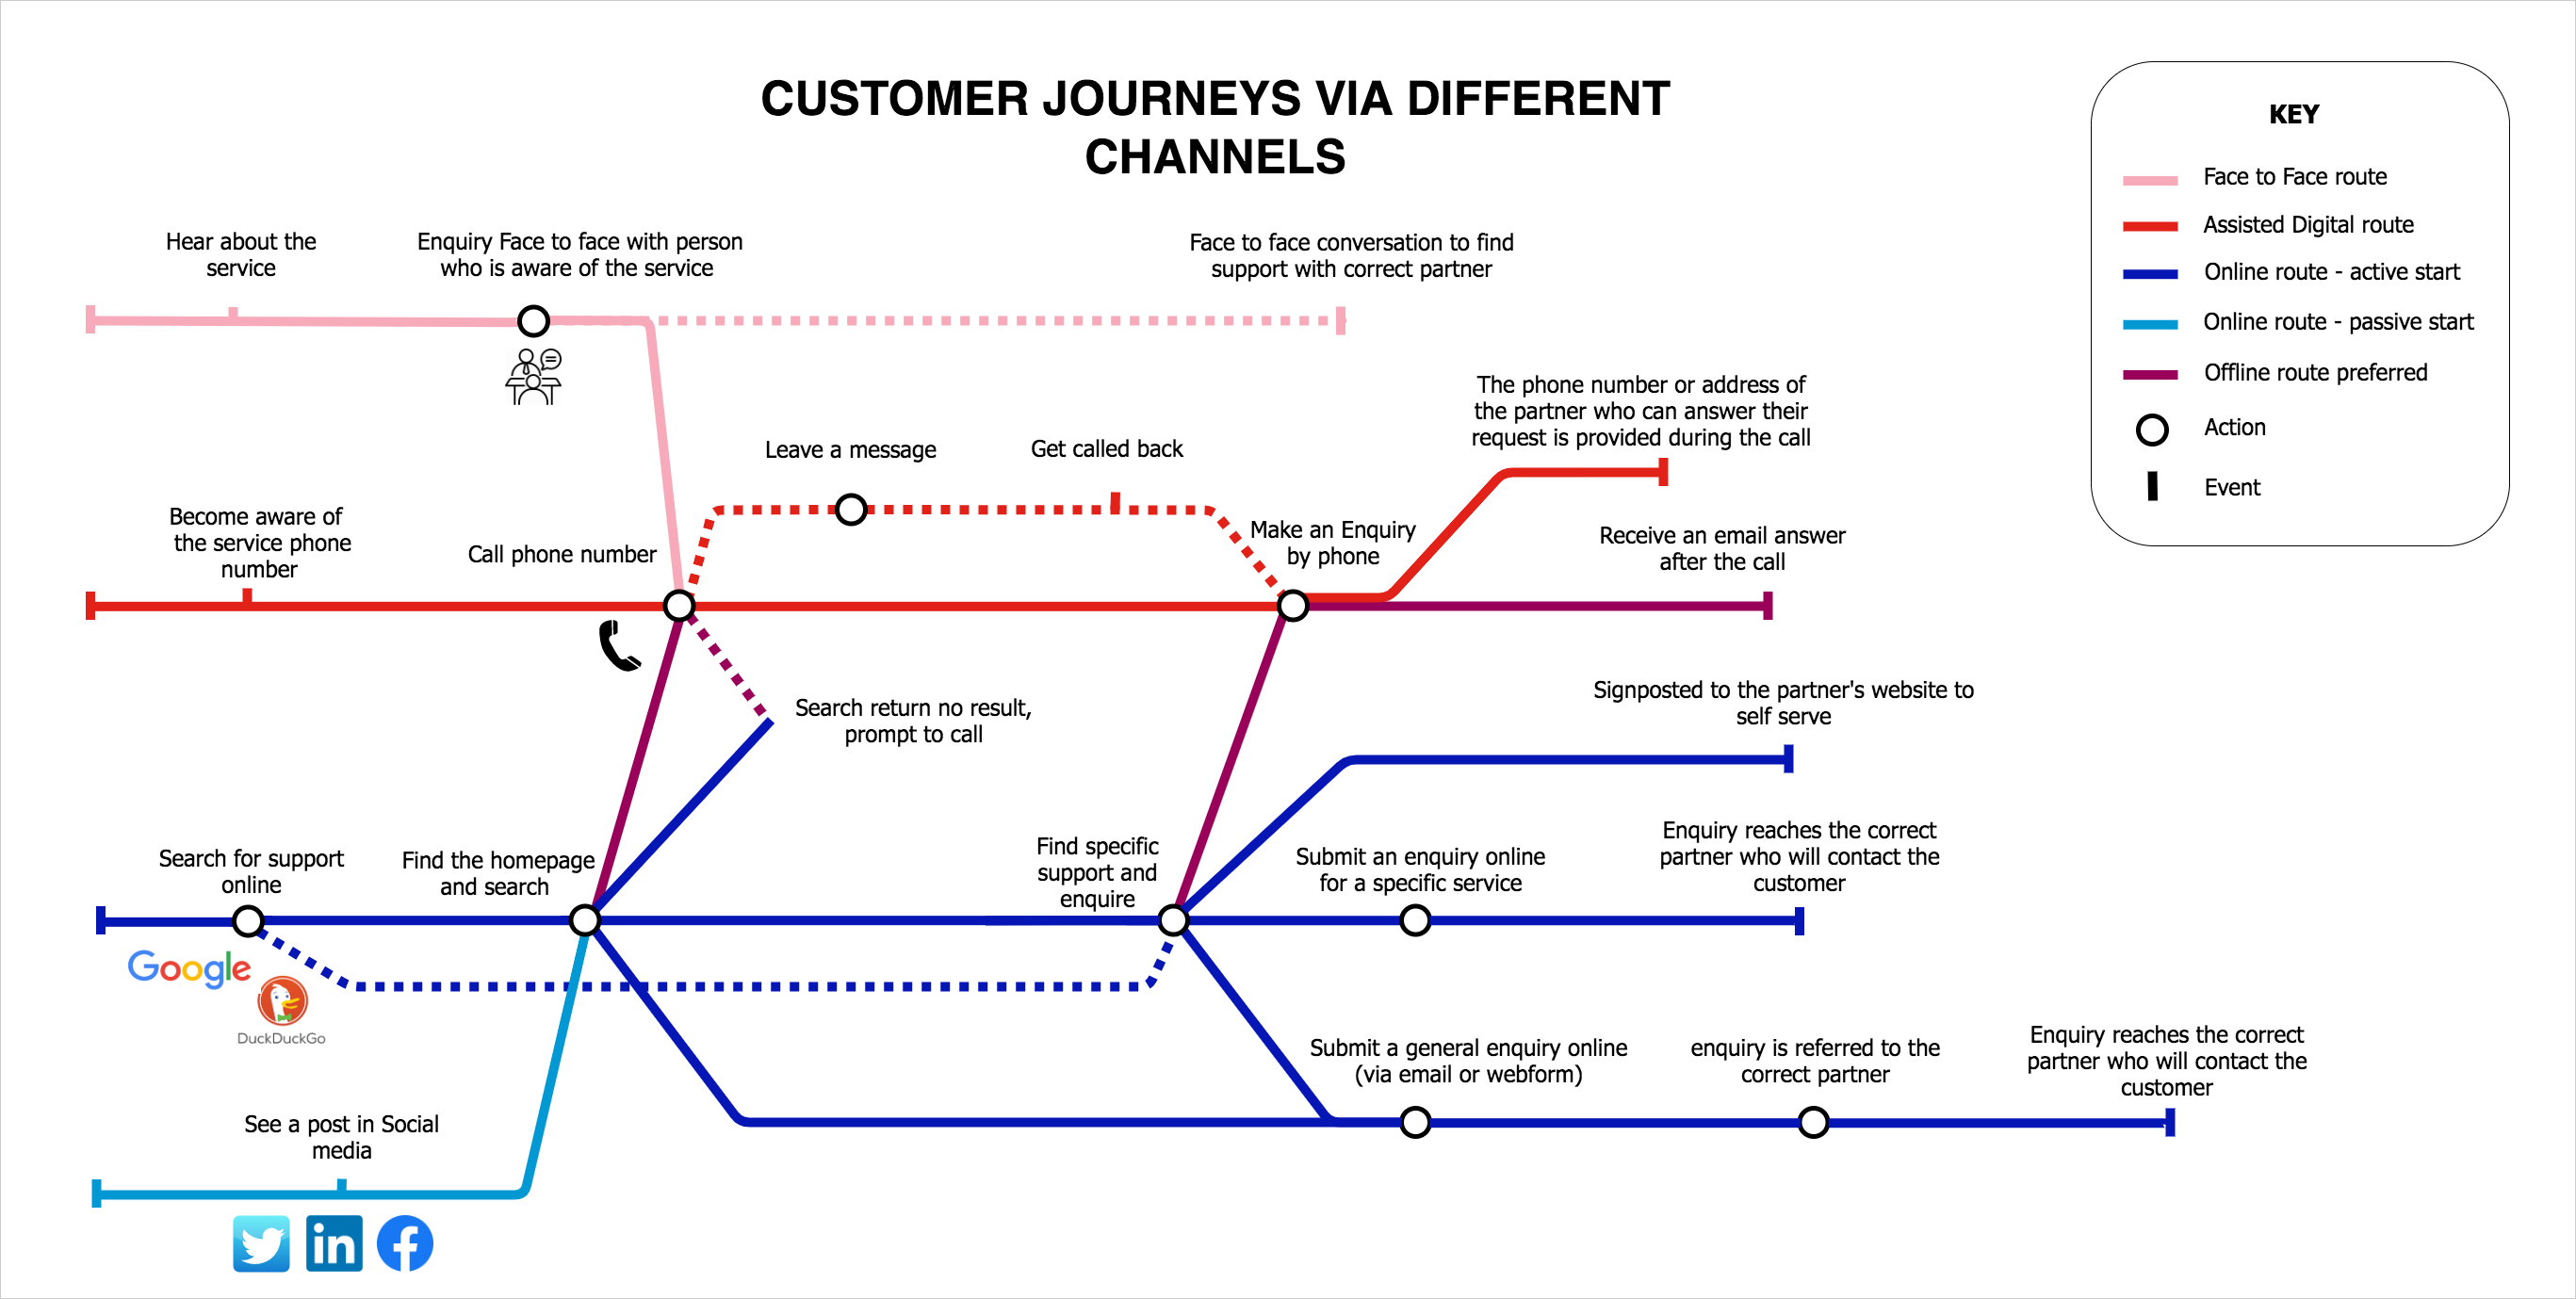
You can explain the various ways a customer can find your service and the different journeys depending on the channels used for example:
First, draft it on paper
It’s not that easy to plan for enough space for labels, lines crossing and making sense of the things you will group together and why. So, like for any design, start with pen and paper.
Ready? ok, do it with draw.io now
You can chose any colours, but if you want it to look like the London tube map, here are the colour codes:
#000000 black
#0616B4 dark blue
#0198D4 light blue
#980059 purple
#E22219 red
#F7AABA pink
#FDF01B yellow
#037B35 green
#AD6300 brown
#A3A2A5 grey
Get the template, it will be quicker
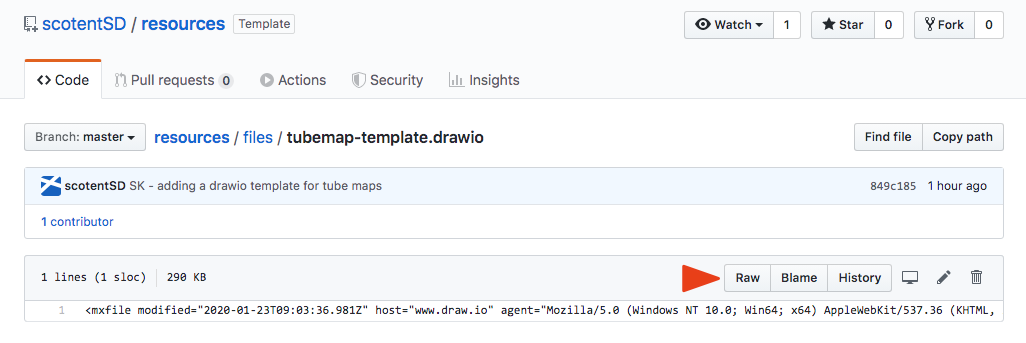
We have a template to make it easy for you. The file is in this Github repository, select Raw and your screen will look like the Matrix:

- in your browser menu, select ‘File’, then ‘Save as’
- give your file the name of your project and the extension .drawio
Using Draw.io
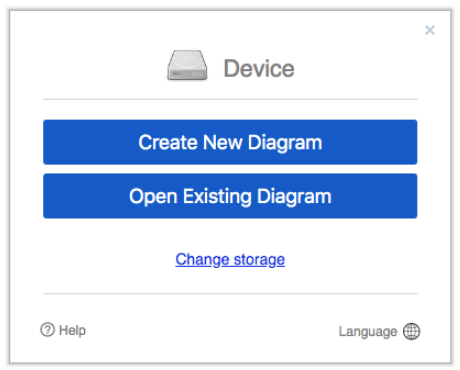
In your browser, open draw.io, and select ‘Open Existing Diagram’
Select the file you have just created and this should open the template.
Simply select a line in the colour you need in the template, copy paste it where you want on screen and play with it, to make your tube map.
Or modify the existing templated map if you prefer.
If you want something really clean, you will have to link elements, like ‘lines’ to ‘circles’ so when you move one, the rest moves as well. The documentation can help.
Some tips
When you copy/paste an element and want to move it next, it’s easier to deselect it (click somewhere else) and then move it. It avoids transforming it when you don’t mean to.
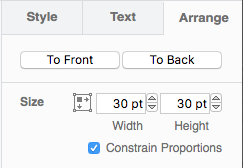
When lines endings are ‘covering’ your connection circle, simple select the circle, then in the right column, select the ‘Arrange’ tab, and then ‘To Front’. This should sort it.
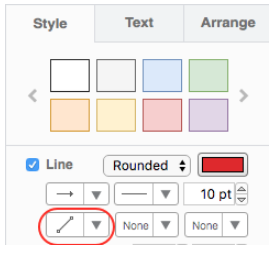
To make an ‘elbow’ in a line, make sure the line is the type selected below (it should be if you’re using the lines in the template)
Select one ending of the line and take it where you want it to go. Then click in the middle of the line, hold and drag to form the angle you want. You can do that again to form another elbow, select again the middle of the second part of the line as shown on the video below.
Ctrl C, Ctrl P, to deselect the red line: click elsewhere, then drag the line where you want, select an ending and drag where you want it to go, click the middle and drag to make the first elbow, then click again and drag to make the second elbow.
Written on 23 Jan 2020 by Stéphanie